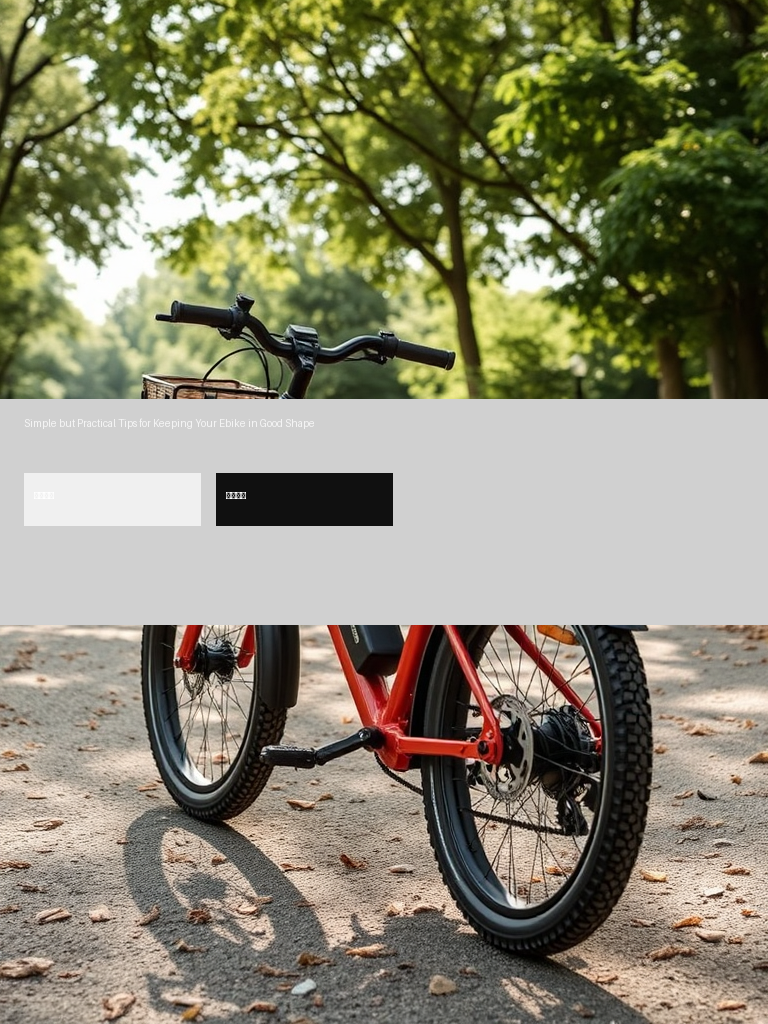
Understanding Battery Compatibility for Your Electric Bike Kit
Quick Answer
- Voltage (V), continuous discharge amperage (A), and amperage-hour (Ah) must match your kit’s specifications for safe and effective operation.
- Physical dimensions, connector type, and pinout are critical for secure integration and preventing electrical damage.
- Always consult your kit’s manual; generic assumptions are a direct path to component failure.
Who This Is For
- DIY electric bike builders and those performing upgrades.
- Individuals needing to replace a damaged or degraded e-bike battery.
What to Check First
- Motor Controller Voltage Limit: This is the absolute maximum voltage the controller can safely accept. Exceeding it guarantees immediate failure.
- Motor Controller Continuous Amperage Draw: The sustained current your controller will demand from the battery during normal operation.
- Battery Chemistry: Different chemistries (e.g., NMC, LiFePO4) have distinct discharge characteristics, safety profiles, and lifespan considerations.
- Physical Fitment: The battery must physically install and be securely mounted on your bike frame or rack without compromising handling.
- Connector Type and Polarity: The battery’s output connector must precisely match your kit’s input connector, with correct positive (+) and negative (-) wiring.
Step-by-Step Plan for Understanding Battery Compatibility for Your Electric Bike Kit
1. Identify Kit’s Nominal Voltage: Consult your electric bike kit’s manual or manufacturer’s specifications for the precise nominal voltage (e.g., 36V, 48V, 52V).
- Action: Locate the voltage specification for your motor controller.
- Look for: A specific numerical value followed by “V.”
- Mistake: Assuming voltage based on the number of cells in series (e.g., 13S cells do not automatically equate to a 13S battery system designed for a specific voltage; the system voltage is paramount).
2. Determine Required Continuous Discharge Amperage: This is the sustained current the battery must supply without excessive voltage sag or overheating.
- Action: Find your motor controller’s maximum continuous current rating.
- Look for: A specification in Amps (A), often labeled “continuous discharge” or “max current.”
- Mistake: Using a battery with a continuous amp limit that is too low for the motor controller’s demand. This leads to voltage sag, reduced performance, and can damage the battery or controller.
3. Verify Amperage-Hour (Ah) Rating for Range: The Ah rating determines the battery’s capacity, directly influencing your e-bike’s potential range.
- Action: Select a battery with an Ah rating that meets your desired riding distance.
- Look for: A numerical value followed by “Ah.”
- Mistake: Underestimating range requirements, leading to frequent recharges and inconveniently short rides.
4. Check Battery Management System (BMS) Specifications: The BMS is the battery pack’s internal guardian, protecting cells from overcharge, over-discharge, and over-current.
- Action: Ensure the BMS’s continuous discharge current limit meets or exceeds your motor controller’s requirement (identified in Step 2).
- Look for: BMS specifications detailing its continuous and peak discharge limits.
- Mistake: A BMS with a lower continuous discharge limit than the motor controller requires will prematurely shut down the system under load, often misdiagnosed as a motor issue.
5. Confirm Physical Dimensions and Mounting: Batteries vary significantly in size and shape (e.g., downtube, rear rack, triangle bag).
- Action: Measure the available space on your bike frame or rack where the battery will be mounted.
- Look for: Battery dimensions (length, width, height) in millimeters or inches.
- Mistake: Purchasing a battery that is too large to fit, too small to mount securely, or that significantly compromises bike handling due to poor weight distribution.
6. Inspect Connector Type and Polarity: The battery’s output connector must physically mate with the input connector on your e-bike kit’s wiring harness.
- Action: Visually compare the battery connector to your kit’s wiring harness connector.
- Look for: Matching connector types (e.g., XT60, XT90, Anderson Powerpole) and confirm the correct pinout (positive/negative wire order).
- Mistake: Mismatched connectors or incorrect polarity can lead to arcing, damage to electronics, and fire hazards.
7. Consider Charger Compatibility: The charger must be compatible with the battery’s chemistry and BMS.
- Action: Verify the charger’s output voltage and current are appropriate for the battery.
- Look for: Charger specifications (e.g., 42V 2A for a 36V Li-ion battery).
- Mistake: Using a charger with an excessively high current output, which can degrade the battery or BMS over time.
Understanding Battery Compatibility for Your Electric Bike Kit: Common Pitfalls
Common Mistakes
- Mismatching Voltage — Why it matters: Exceeding the motor controller’s voltage limit will likely cause immediate and permanent damage, rendering the controller unusable. — Fix: Always match the battery’s nominal voltage to the controller’s specified voltage.
- Ignoring Discharge Rate (Amps) — Why it matters: A battery unable to deliver the required continuous current will experience significant voltage sag, leading to reduced power, poor performance, and potential overheating of both the battery and controller. — Fix: Ensure the battery’s continuous discharge rating (in Amps) meets or exceeds the motor controller’s maximum continuous current draw.
- Using Incompatible Connectors — Why it matters: Mismatched connectors can lead to poor electrical connections, arcing, increased resistance, and potential fire hazards. Adapters can introduce failure points. — Fix: Verify that the battery connector precisely matches the connector on your e-bike kit’s wiring harness. If adapters are necessary, ensure they are rated for the system’s current and are installed professionally.
- Overlooking Physical Dimensions — Why it matters: A battery that doesn’t fit securely can vibrate loose, leading to damage to the battery, bike, or wiring. It can also compromise bike handling. — Fix: Measure the intended mounting location carefully and compare it against the battery’s physical dimensions before purchasing.
BLOCKQUOTE_0
Expert Tips for Battery Selection
- Tip 1: Prioritize the Controller’s Voltage Limit.
- Action: Always check the motor controller’s maximum input voltage specification.
- Common Mistake to Avoid: Purchasing a battery with a higher voltage than the controller can handle, assuming “more voltage equals more power.” This is incorrect and destructive. For example, a 52V battery should not be used with a controller rated for a maximum of 48V.
- Tip 2: Understand Continuous vs. Peak Discharge.
- Action: Differentiate between your motor controller’s continuous amp draw and its peak amp draw. Select a battery whose BMS is rated for at least the controller’s continuous draw.
- Common Mistake to Avoid: Relying solely on a battery’s “peak discharge” rating if it doesn’t also specify a sufficient continuous discharge rate. The system will likely shut down or overheat during sustained acceleration.
- Tip 3: Verify Connector Pinouts.
- Action: Even if connectors appear identical (e.g., XT90), confirm the positive and negative wire order (pinout) matches your kit’s harness.
- Common Mistake to Avoid: Simply plugging in a connector that physically fits without confirming pinout. Incorrect polarity can instantly destroy sensitive electronics like the controller or BMS.
FAQ
- Q: Can I use a higher voltage battery than my kit specifies?
- A: No. Using a battery with a higher nominal voltage than your motor controller is designed for will almost certainly damage or destroy the controller. Always match the voltage precisely.
- Q: What does the ‘C’ rating on a battery mean?
- A: The ‘C’ rating indicates a battery’s discharge capability relative to its capacity. A 1C rating means the battery can safely discharge at a current equal to its Ah capacity (e.g., a 10Ah battery at 1C can deliver 10A). A 10C rating means it can deliver 10 times its capacity (100A for a 10Ah battery). For e-bikes, a continuous discharge rating in Amps is often more practical to compare directly with the motor controller’s requirements.
- Q: My new battery fits physically but doesn’t work. What could be wrong?
- A: The most common reasons are incorrect voltage, insufficient discharge current capability, or a faulty BMS. Double-check all electrical specifications against your kit’s manual.
- Q: Is it okay to use a battery with a higher Ah rating for more range?
- A: Generally, yes, provided the voltage and discharge rate are compatible. A higher Ah rating means more capacity, thus more range. However, ensure the physical size and weight are manageable for your bike.
| Parameter | Essential for Compatibility | Secondary Consideration | Notes |
|---|---|---|---|
| <strong>Nominal Voltage (V)</strong> | Critical | N/A | Must match the motor controller’s designed input voltage. Incorrect voltage destroys components. |
| <strong>Continuous Discharge Amps</strong> | Critical | N/A | Battery must supply sustained current demanded by the motor controller. Insufficient amps cause sag/heat. |
| <strong>Amperage-Hour (Ah)</strong> | Secondary | Critical | Determines range. Higher Ah is better for range, but ensure voltage/discharge specs are met. |
| <strong>Connector Type & Polarity</strong> | Critical | N/A | Physical connection and correct wiring (positive/negative) are essential for function and safety. |
| <strong>BMS Discharge Limit</strong> | Critical | N/A | The BMS must be rated for the controller’s continuous amp draw to prevent shutdowns or damage. |
| <strong>Physical Dimensions</strong> | Critical | N/A | Battery must fit securely in the intended mounting location on the bike. |
| <strong>Chemistry</strong> | Important | N/A | Affects discharge performance, lifespan, and safety. Ensure it’s suitable for e-bike applications. |

Ryan Williams has spent over 8 years testing, repairing, and writing about electric bikes. He has personally ridden and reviewed 150+ e-bike models from brands like Lectric, Aventon, Rad Power, Super73, and dozens more.
Before founding EBIKE Delight, Ryan worked as a bicycle mechanic for 5 years at independent bike shops across California, where he specialized in e-bike conversions and electrical system diagnostics. He holds a Certificate in Electric Vehicle Technology from the Light Electric Vehicle Association (LEVA).
Ryan’s work has been cited by Electric Bike Report, Electrek, and BikeRumor. When he is not testing the latest e-bike on California backroads, he is in his workshop tearing down batteries and controllers to understand what makes them tick — and what makes them fail.
Areas of Expertise
E-bike performance testing and real-world range verificationBattery diagnostics, charging best practices, and safetyBrand comparisons: Lectric, Aventon, Rad Power, Super73, and moreError code troubleshooting across major e-bike systemsE-bike laws, registration, and compliance by state
Ryan believes every rider deserves honest, hands-on information — not marketing hype.