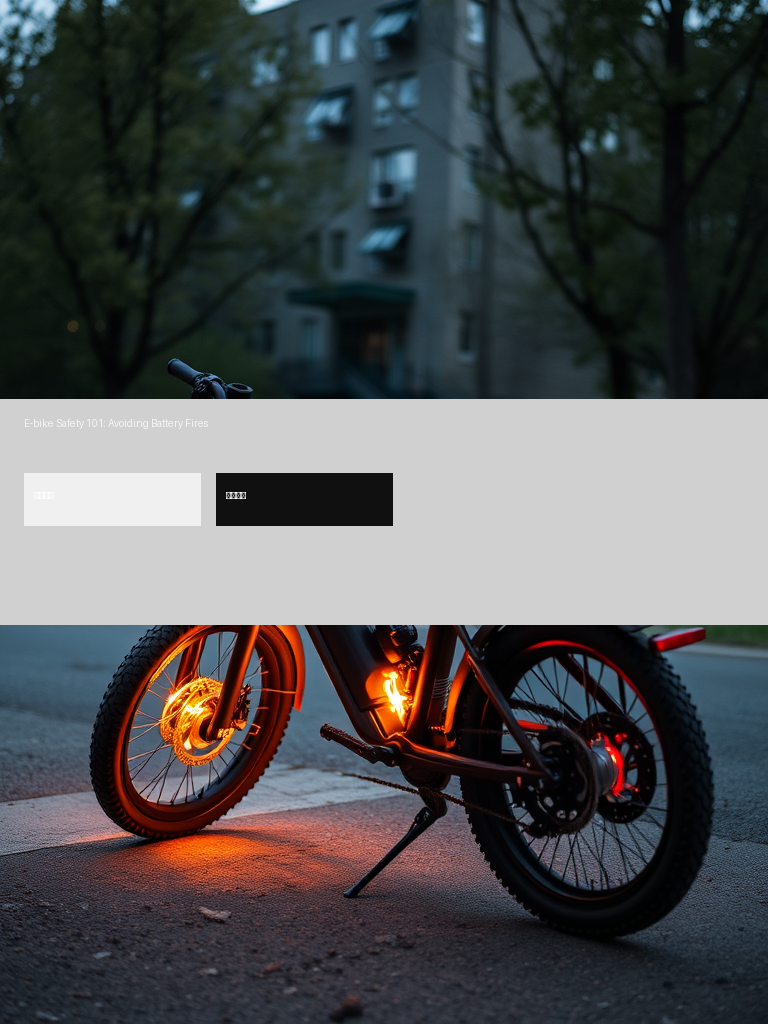
Troubleshooting Guide: Why Your Electric Bike Keeps Cutting Out
Nothing kills a commute faster than an e-bike that dies mid-ride. One moment you’re cruising at 20 mph, the next the motor cuts out and you’re pedaling a 60-pound paperweight. The good news: most cutout issues trace back to a handful of predictable causes, and many of them are fixable at home with basic tools and a multimeter.
This guide walks through the most common reasons an electric bike loses power, how to diagnose each one in order, and what parts you’ll likely need to swap. We’ll start with the quickest fixes and move toward the more involved repairs.
Start With the Obvious: Battery Charge and Connection
Before you tear into the wiring harness, confirm the basics. A battery that reads 50% on the display can still sag below the controller’s cutoff voltage under load, especially if you’re climbing a hill or accelerating hard.
Check the physical connection first. Most e-bike batteries mount on a rack or inside the downtube, and the contacts are prone to vibration loosening. Remove the battery, inspect the terminals for scorch marks or green corrosion, and re-seat it firmly. If the battery uses a keyed lock, make sure it’s fully turned to the locked position—a half-locked battery can lose contact over bumps.
Test the charger output. Plug the charger in and check the LED. A solid green light with a dead battery usually means the charger isn’t delivering current. If you have a multimeter, test the charger’s output plug against the voltage printed on its label. A 48V charger should read roughly 54.6V at the tip.
Load-test the battery. A multimeter reading at rest isn’t enough. A battery that shows 48V unloaded can drop to 40V the moment the motor draws 15 amps. If you don’t own a multimeter, a plug-in watt meter like the HBN Watt Meter Plug with Backlight can show real-time voltage sag while you ride. If the voltage drops more than 10–15% under throttle, the cells are likely worn and the battery needs replacement.
Here’s where the diagnosis branches. If the battery voltage holds steady under load but the motor still cuts out, skip the battery replacement entirely and move to the wiring checks below. If the voltage drops hard and fast, stop here—a worn battery won’t be fixed by re-seating connectors, and continuing to ride on it risks damaging the controller from undervoltage spikes.
Loose or Damaged Wiring Harness Connections
E-bikes route high-current power through multi-pin connectors between the battery, controller, motor, and display. These connectors are the single most common failure point on budget and mid-range bikes.
Work through each connector systematically. Unplug and re-plug every connection you can reach: the battery-to-controller plug, the three motor phase wires, the smaller hall-sensor plug, and the display cable. Look for bent pins, pushed-back terminals, or melted plastic around the connector body.
Pay special attention to the phase wires. These are the thick wires carrying motor current, and they run hot. If the connector feels warm after a ride, that’s a sign of resistance—and resistance creates heat that eventually melts the connector. A melted connector needs replacement, not just re-seating.
Check for chafed insulation. Follow the wiring along the frame, especially where cables pass through frame openings or rub against the fork. A worn spot that exposes copper can short against the frame, which will trip the controller’s protection circuit and cut power instantly. Wrap any damaged sections in electrical tape as a temporary fix, but plan to replace the wire or harness properly.
How to confirm the fix worked: After re-seating all connectors, take the bike for a 5-minute ride on a flat road and deliberately hit a few bumps. If the motor holds power through the bumps and the display stays lit, the loose connection was the culprit. If it cuts out again, the problem isn’t the connectors themselves—move on to the controller and sensor checks.
Controller Overheating and Thermal Cutoff
The controller is the brain of your e-bike, and it has a built-in thermal limit. When the internal temperature exceeds roughly 140–160°F, it shuts down the motor to protect the MOSFETs from damage. This is a safety feature, not a malfunction—but it’s often triggered by preventable conditions.
Common causes of controller overheating:
- Riding at full throttle for extended periods on hot days
- Climbing long hills at low speed, which maximizes current draw while minimizing airflow
- A controller mounted inside a sealed frame compartment with no ventilation
- A failing motor bearing that forces the controller to push extra current
If the cutout happens after 10–15 minutes of hard riding and the bike works again after cooling off, thermal cutoff is your likely culprit. You can improve airflow by adding ventilation holes to a sealed controller compartment, but the more reliable fix is upgrading to a controller with a higher continuous current rating than your motor demands.
The recurrence pattern to watch for: Thermal cutoffs often get worse over time. If the bike originally cut out after 20 minutes of climbing but now dies after 8 minutes, the controller’s thermal paste has likely dried out or the MOSFETs are degrading. This is a progressive failure—don’t assume the problem will stay at the same severity. Plan to replace the controller or improve cooling before the cutoff starts happening on flat ground.
Throttle and Pedal Assist Sensor Faults
The throttle and pedal assist sensor (PAS) both send signals to the controller. A faulty sensor can send erratic signals—or no signal at all—which the controller interprets as a command to cut power.
Throttle issues: A throttle that sticks or drifts can cause the controller to shut down as a safety measure. Test by unplugging the throttle entirely. If the bike runs normally with pedal assist, the throttle is the problem. Replace it with a matching unit for your controller brand.
Pedal assist sensor problems: The PAS is a magnet disc mounted on the crank spindle with a fixed sensor on the frame. If the disc is loose, cracked, or the gap between disc and sensor exceeds about 3mm, the signal becomes intermittent. This often presents as a motor that cuts out only when you’re pedaling—not when using the throttle.
Check the magnet disc alignment. Rotate the crank slowly and watch the sensor. The magnets should pass within a few millimeters of the sensor face without touching. If the disc wobbles, tighten the lockring or replace the disc.
A common mistake here: Riders often replace the PAS disc when the real issue is a damaged sensor wire that’s been pinched between the bottom bracket and frame. Before ordering a new disc, trace the sensor wire from the frame back to the controller and check for pinch points or cuts. A $2 inline splice beats a $25 sensor replacement if the disc itself is fine.
Brake Levers and Cutoff Switches
Every e-bike has brake levers with built-in cutoff switches that interrupt motor power when you squeeze the brakes. This is a mandatory safety feature, but the switches can fail in the “engaged” position.
Test each brake lever. With the bike on a stand, spin the rear wheel and apply the throttle. If the motor doesn’t engage, squeeze and release each brake lever several times. A sticking switch might free up with exercise. If the motor still won’t run, unplug the brake lever connectors one at a time and test again.
Look for water damage. The switches are exposed to rain and road spray. If the connector pins show green corrosion, the switch is likely shorted. Replacement brake levers with integrated cutoff switches cost $15–$40 per pair and are a straightforward swap.
Hydraulic brake note: If your bike has hydraulic disc brakes, the cutoff switches are integrated into the levers. You can’t simply unplug them without losing motor power entirely—you’ll need to replace the levers with units that have compatible switches, or install a separate brake sensor kit.
Stop and escalate here: If you’ve unplugged both brake levers and the motor still refuses to run, the problem is not the brake switches. Stop replacing brake parts and move to the controller and motor diagnostics. Continuing to swap levers when the wiring or controller is at fault wastes money and time.
Battery Management System (BMS) Protection Trips
The BMS is a circuit board inside the battery pack that monitors individual cell voltages, pack temperature, and current draw. It’s the final line of defense against over-discharge, over-current, and cell imbalance.
When the BMS trips, the battery output drops to zero—no display, no lights, nothing. This is different from a controller cutoff, where the display stays on but the motor stops.
Common BMS trip triggers:
- Drawing more current than the BMS allows (often 30–40A on stock batteries)
- A single cell group dropping below the low-voltage cutoff (usually 2.5–3.0V per cell)
- Pack temperature exceeding the safety threshold
- A short circuit in the wiring or motor
Recovery method: Most BMS units reset when you disconnect the battery from the bike and let it rest for a few minutes. If the battery won’t reset, charge it for 30–60 seconds—the charging current can sometimes reset the protection circuit. If neither works, the BMS may need replacement, which requires opening the battery case and desoldering the old board.
Prevention: Don’t run the battery to empty. The BMS low-voltage cutoff protects the cells, but repeated deep discharges accelerate cell degradation and make imbalance more likely. Keep the battery between 20% and 80% for daily use.
The failure mode that surprises owners: A BMS trip can masquerade as a dead battery. If the bike dies completely and the charger shows a green light immediately, the BMS has likely tripped rather than the cells being empty. Try the 30–60 second charge reset before assuming the pack is dead—this saves many riders from buying a replacement battery they don’t need.
Motor Phase Wire Shorts and Hall Sensor Failures
The motor itself can cause cutouts, particularly if the phase wires have internal breaks or the hall sensors have failed.
Hall sensor failure symptoms: The motor stutters, vibrates, or makes a grinding noise before cutting out. This happens because the controller needs hall sensor feedback to sequence the phase currents. When one sensor fails, the motor loses synchronization.
Testing hall sensors: Unplug the motor’s hall sensor connector and probe each of the three sensor wires while slowly rotating the wheel. Each wire should alternate between 0V and 5V as the motor turns. A wire that stays stuck at one voltage indicates a failed sensor.
Phase wire continuity: Use a multimeter to check resistance between each pair of phase wires. They should all read roughly the same low resistance (typically under 1 ohm). A reading of infinite resistance means a broken wire inside the motor cable—common where the cable exits the axle and flexes with steering.
Replacement reality: Hall sensors sit inside the motor housing. Replacing them requires opening the motor, which means removing the wheel, unbolting the side cover, and carefully desoldering the old sensors. If you’re not comfortable with that level of disassembly, a complete replacement hub motor is often the more practical route.
Escalation threshold: If you’ve confirmed a hall sensor failure and the motor is a geared hub unit, stop the DIY repair right there. Geared hub motors require precise shimming and gear alignment during reassembly—a mistake here can destroy the planetary gears. Take it to a shop that specializes in e-bike motors, or budget for a complete replacement hub motor.
Error Codes and Display Diagnostics
Most modern e-bikes display error codes on the LCD or LED display when the controller detects a fault. These codes vary by manufacturer, but the most common ones follow a rough standard:
| Error Code | Meaning | Typical Fix |
|---|---|---|
| 04 / 05 | Throttle fault | Replace throttle or check connector |
| 06 / 07 | Brake lever stuck | Adjust or replace brake levers |
| 08 | Motor hall sensor fault | Test and replace hall sensors |
| 09 | Controller fault | Replace controller |
| 10 | Communication error (display-controller) | Re-seat display cable, replace display |
| 14 | Battery undervoltage | Charge battery, check BMS |
| 21 | Speed sensor fault | Check magnet alignment, replace sensor |
Check your manual for the code list. Manufacturers like Bosch, Shimano, and Bafang publish their own code tables, and the meanings aren’t always interchangeable. A code that means “throttle fault” on a Bafang system might mean “controller overcurrent” on a Shengyi system.
If no code appears: The display may be blank entirely, which points to a power delivery issue rather than a controller fault. Work backward from the display: check the display connector, then the controller’s 5V output, then the battery voltage at the controller input.
Verification step for display issues: After re-seating the display cable, power the bike on and watch the display during a short ride. The screen should stay lit and stable through bumps and acceleration. If the display flickers or resets, the cable or display itself is the problem—not the controller.
Intermittent Cutouts That Defy Diagnosis
Some cutouts are maddeningly intermittent—the bike runs fine for weeks, then dies at the same intersection every time. These are usually caused by vibration-sensitive failures.
The wire flex test: With the bike off, wiggle each section of wiring harness while watching the display. If the display flickers or resets when you flex a particular section, you’ve found a broken wire inside the insulation. This is especially common near the head tube, where the handlebar wiring flexes during steering.
The bump test: Ride over a speed bump or pothole and note whether the cutout coincides with the impact. If it does, check the battery mount, controller mounting bolts, and any connectors that hang unsupported.
Temperature-dependent cutouts: If the bike only fails in cold weather, suspect a weak battery that can’t deliver current at low temperatures. Lithium cells lose roughly 20% of their capacity at 32°F. If the bike only fails in hot weather, thermal cutoff is more likely.
The failure pattern that fools everyone: Intermittent cutouts that happen at the same spot on a regular route are rarely caused by the road itself. More often, the bike is cutting out because that spot is where you’re applying maximum throttle after a stoplight or where the grade increases slightly. The “same intersection” pattern is usually a load issue, not a location issue. Test this by riding the same stretch at half throttle—if the cutout disappears, you’re dealing with current draw, not a wiring fault.
When to Call a Professional
Some repairs are best left to a shop. If you’ve worked through the checks above and the bike still cuts out, consider these scenarios:
- Internal battery cell damage: If the pack is swollen, makes hissing sounds, or won’t hold a charge, do not open it. Lithium cells can vent or catch fire if punctured.
- Controller replacement on integrated systems: Some mid-drive motors (Bosch, Yamaha, Shimano) use proprietary controllers that require dealer-level diagnostic tools to program.
- Motor bearing replacement: A grinding noise from the motor hub usually means worn bearings. Replacing them requires a bearing press and careful reassembly—a shop will typically charge $80–$150 for the job.
Safety warning: Always disconnect the battery before working on any electrical component. The controller capacitors can hold a dangerous charge even after the battery is removed—wait at least five minutes before touching exposed terminals.
Frequently Asked Questions
Why does my e-bike cut out when I go over bumps?
This almost always points to a loose connection—either the battery contacts, the controller plugs, or a broken wire inside the harness. Vibration causes the connection to momentarily break, and the controller cuts power as a safety response. Re-seat all connectors and inspect the wiring for chafed or broken wires.
Can a faulty display cause the motor to cut out?
Yes. The display communicates with the controller, and a shorted display can send erroneous signals that trigger a shutdown. Unplug the display and ride the bike—if it runs normally, the display is faulty and needs replacement.
Why does my e-bike cut out only on hills?
Climbing hills demands maximum current from the battery and maximum heat dissipation from the controller. A battery that sags under load or a controller that overheats will both cut out on steep grades. Test the battery voltage under load with a watt meter, and check whether the controller housing feels excessively hot after the climb.
How do I know if my battery or controller is the problem?
If the display goes completely dead, the battery or BMS is the issue. If the display stays on but the motor stops, the controller, motor, or sensors are at fault. This simple distinction narrows the diagnosis significantly.
Is it safe to keep riding if my e-bike cuts out intermittently?
Only if you’ve identified the cause and it’s a loose connector. If the cutout is caused by a short circuit, overheating, or a failing BMS, continuing to ride risks damaging the battery or controller—and in rare cases, a thermal runaway. Stop riding until you’ve completed the diagnosis.
Why does my e-bike cut out after charging overnight?
This often points to a BMS that’s tripped during charging, usually from cell imbalance or an over-voltage condition. The charger may show a full battery, but the BMS has locked the pack output. Try the 30–60 second charge reset, and if that fails, have the pack tested for cell balance by a shop.

Ryan Williams has spent over 8 years testing, repairing, and writing about electric bikes. He has personally ridden and reviewed 150+ e-bike models from brands like Lectric, Aventon, Rad Power, Super73, and dozens more.
Before founding EBIKE Delight, Ryan worked as a bicycle mechanic for 5 years at independent bike shops across California, where he specialized in e-bike conversions and electrical system diagnostics. He holds a Certificate in Electric Vehicle Technology from the Light Electric Vehicle Association (LEVA).
Ryan’s work has been cited by Electric Bike Report, Electrek, and BikeRumor. When he is not testing the latest e-bike on California backroads, he is in his workshop tearing down batteries and controllers to understand what makes them tick — and what makes them fail.
Areas of Expertise
E-bike performance testing and real-world range verificationBattery diagnostics, charging best practices, and safetyBrand comparisons: Lectric, Aventon, Rad Power, Super73, and moreError code troubleshooting across major e-bike systemsE-bike laws, registration, and compliance by state
Ryan believes every rider deserves honest, hands-on information — not marketing hype.
